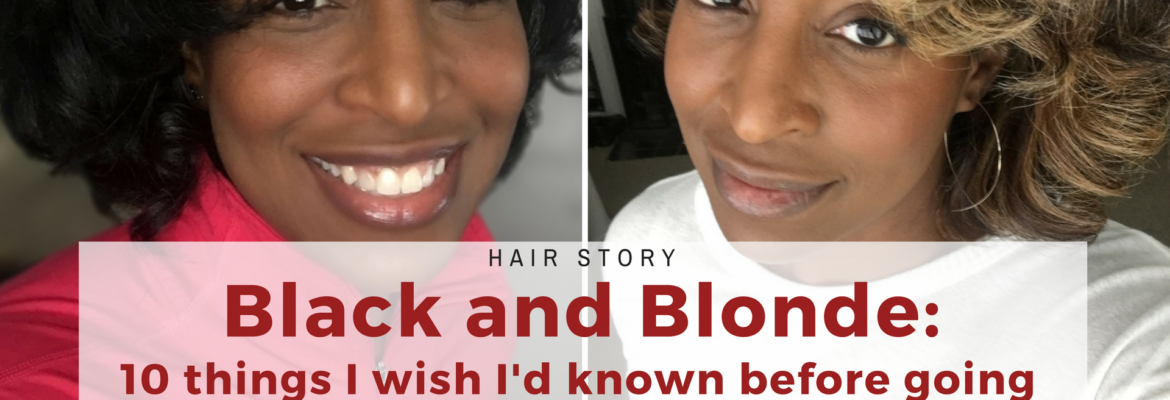
Black and Blonde: 10 Things I Wish I’d Known Before I Went From Dark Hair To Blonde
My gray hair has started growing in with a vengeance lately, and I didn’t want to chase my roots.Applying demi-permanent color on my naturally medium-to-dark brown hair was no longer working for me. I found that I was chasing my roots every four weeks and strategically parting my hair to avoid showing what was definitely going to grow into a Cruella De Vil stripe. I’ve always been pretty low-maintenance when it comes to my hair, and I prefer to style my hair at home. However, some things are best left to the professionals, I thought. My goal was to go back to being relatively low-key about my hair and to only go to the salon every four to six months while letting my gray blend into my highlights. I was going to transform my dark hair to blonde. In my mind, it was a perfect plan.
Some facts: My hair is type 4a/4b and shoulder-length, medium width. Before bleaching, I normally blow dried and flat ironed my hair every 4-5 days. My natural color is a medium-to-dark brown. I had only ever used demi-permanent, deposit-only color on my hair and had never applied permanent dye or bleach. I have medium brown skin with pretty neutral undertones — I don’t pull strongly yellow or red. This has proved challenging when it comes to my makeup selections (I’m a challenge, even for the many shades of MAC) and would prove challenging when it came to my hair color experience, too.
-

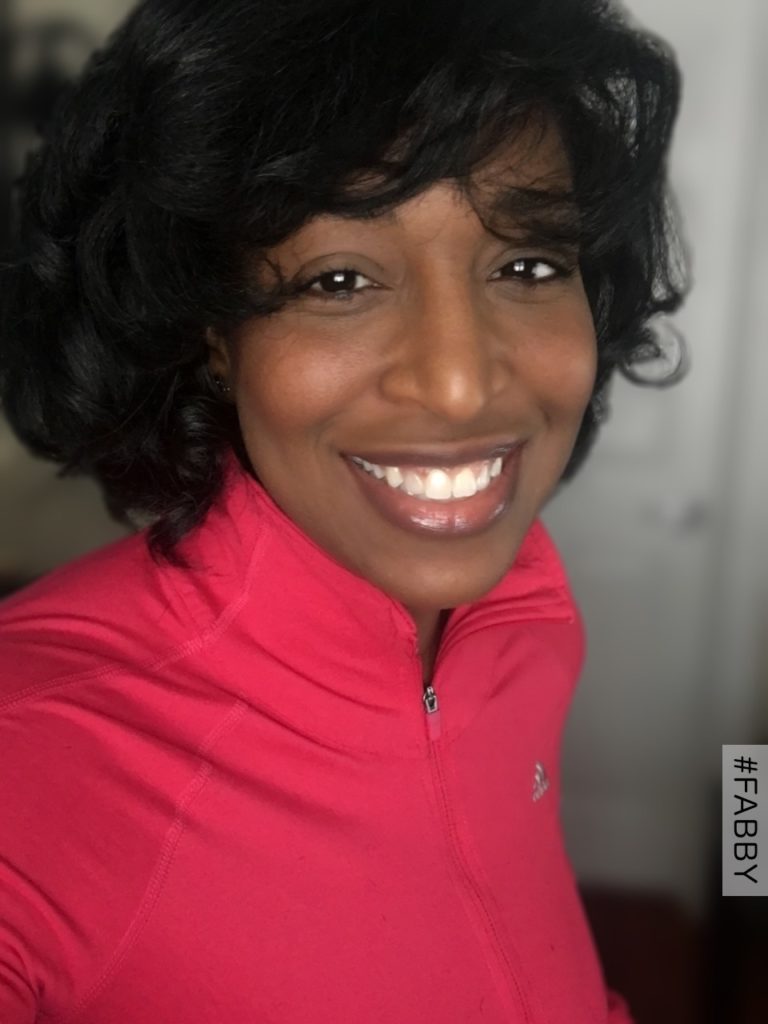
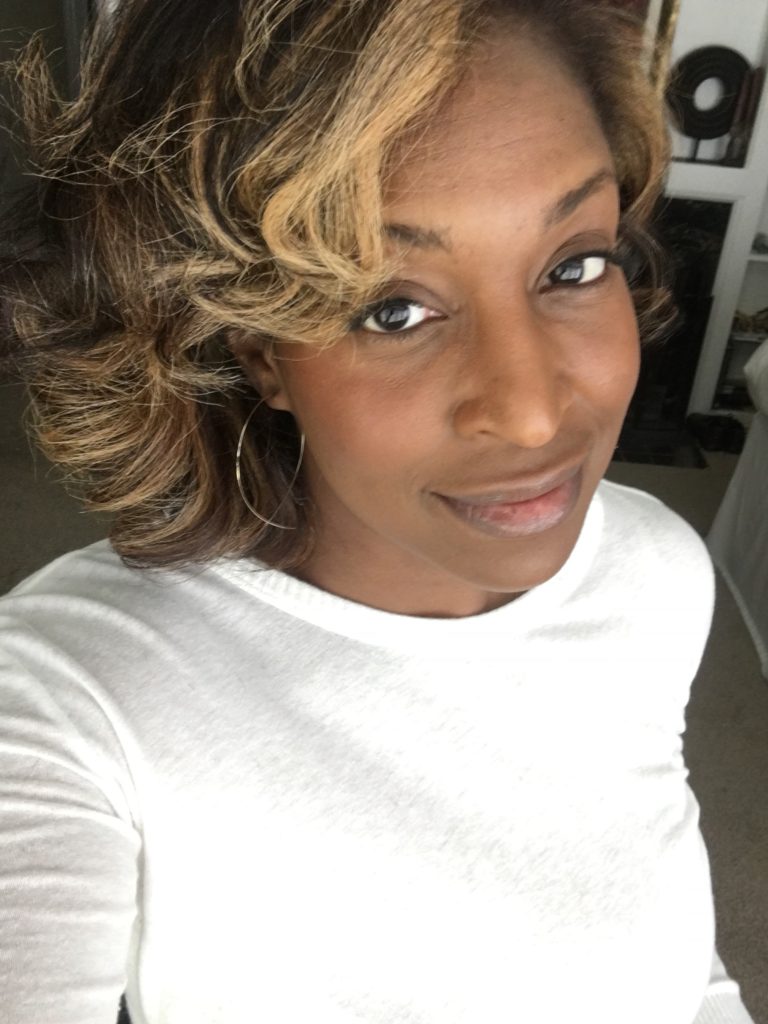
- Me with freshly-colored hair. A look like this would last no more than two weeks before I’d start to see new gray hairs growing in.
-
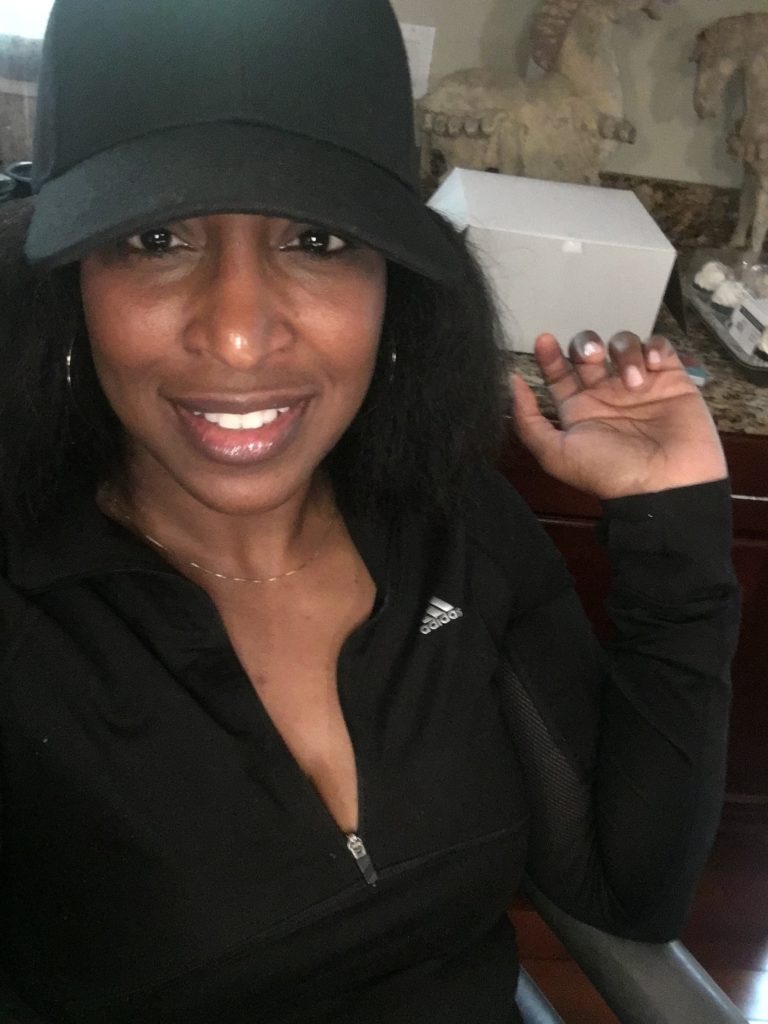
- This is me in my trusty baseball cap. There’s a lot of gray under there, friends.
If you’re thinking about going blonde, you might want to start slow with a few highlighted tracks or extensions. If you’re really bold, you can push your color all the way to silvery gray. As for me, I knew that I was ready to go all the way in on my blonde look. Here are 10 things that I’ve learned from the experience:
1. Get pictures of what you want…and what you don’t want.
I scrubbed Instagram and Google for weeks before getting my hair colored. I envisioned multi-dimensional balayage highlights near my face going from a pale platinum near my face to a cool medium-to-dark blonde. I also wanted lots of my roots showing to frame my face and because, let’s face it: this color doesn’t grow out of my head naturally. Plus, the whole point of this exercise was not to have to chase my roots. I wanted to avoid chunky, stripey, too-yellow or too-orange hair at all costs. I also wanted to keep the light color away from my roots. I had plenty of pictures of that, too.
Armed with my pictures grouped into folders labeled “Dream Color” and “Color NO,” I found a stylist who had transformed lots of heads of hair with color in just the style I liked. I scheduled a consultation, then booked an appointment. It was finally happening!
2. Your hair color professional may get it wrong.
What the stylist got right:
- She made very clear that getting my highlights all the way blonde would require a double process. I expected to go from brown to orange during the first sitting and then from orange to blonde at a later appointment.
- She used a special solution to remove the demi-permanent color from my hair before bleaching it. Without this step, the bleach would not have worked as thoroughly.
- She used Olaplex to protect my hair from the bleaching process. My hair was very healthy at the outset, but bleaching can be killer. Olaplex is a product that salon professionals use to mitigate some of the damage from all of the processing that goes on.
What the stylist got wrong:
- She didn’t really seem to study my skin color before suggesting a color that I should use. She had seen the Ciara picture before, and got right to work creating what she thought were the colors that Ciara’s stylist used instead of the colors that were best for my skin tone. This left me with the too-yellow hair that I dreaded.
- She got distracted by two separate vendors (!) while bleaching my hair. This resulted in piecey, too-chunky sections that were lighter on the right side of my head than on the left side. This may also be the reason why the blonde was so close to my roots instead of starting more at the mid-lengths.
- She wanted to curl my hair before I could evaluate the color. I insisted that she flat iron it and leave it straight so that I could actually see how well the color had been applied. This is key to evaluating how your hair looks. If it’s colored by a professional, your hair should look great whether it’s curled or straight.
- Surprisingly, she didn’t say one word about how to care for my hair after I left the salon. This step was critical for me, because I had made very clear in both my consultation and my appointment that I had never colored my hair before. There was no way that I’d return to a stylist who didn’t communicate anything about what would be required to maintain my bleached hair.
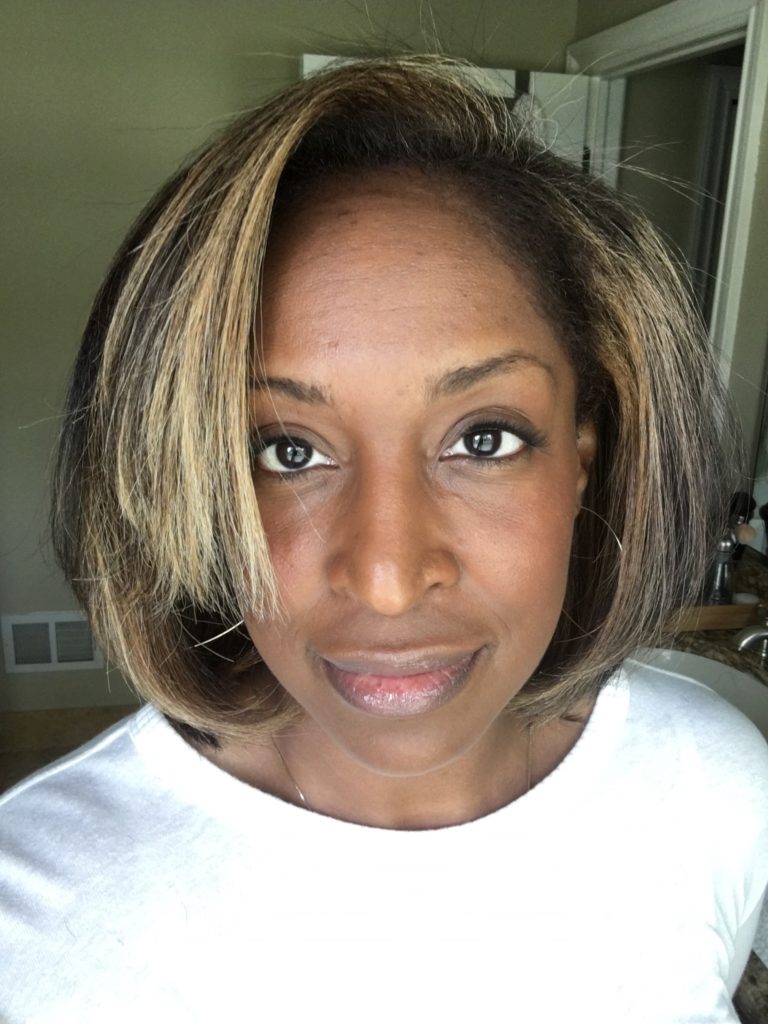
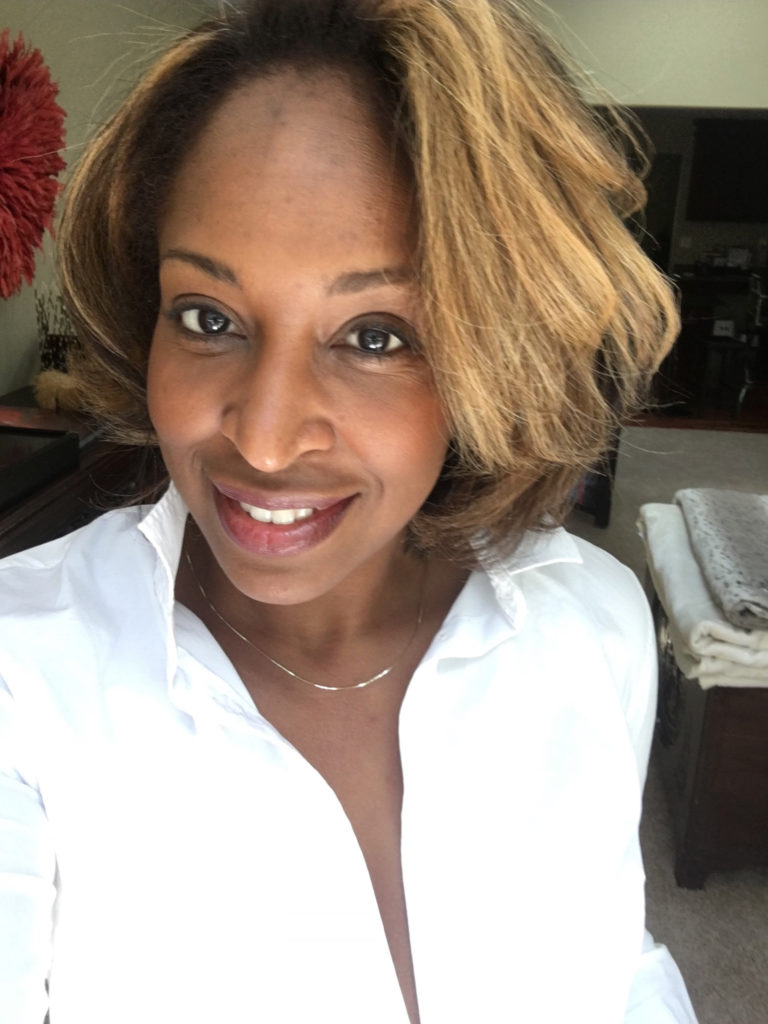
I left the salon with blonde face-framing highlights. Because she hadn’t really paid attention to my skin and hair color to begin with, the stylist was surprised that my hair went as blonde as it did with a single bleaching session. What surprised me was the sight of my own face in the mirror. It felt like I was looking at a different person. Plus, I didn’t think I loved my hair. I just wasn’t convinced that the stylist had done a great job. My hair looked very yellow, and the color wasn’t blended very well. I could actually see the clear demarcation lines where the bleach had been painted on. I had to do some strategic hair parting to stop my stomach from lurching every time I looked in the mirror.
-
- This is me, fresh from the salon. You can see where she stained my hairline with darker dye.
-
- This is me on the same day after giving it a curl. It’s better, but I’m still not thrilled.
-
- It only took a few days for the giant block of highlighted hair to yellow. Uh-oh.
I wasn’t sure how much of my uncertainty had to do with the fact that I’d just made a major hair color change. I continued to tease and play with it, even giving it a bit of a curl at home just to settle on a look that I felt more comfortable with. But when I went to coffee with a friend (a natural blonde) a few days later, she squealed, “Ooh, you’re blonde now! Did you do it yourself?” My stomach sank. I had just dropped close to $300 to have my hair done the day before, and my friend was asking if it was a DIY job. My suspicions had been confirmed.
It turns out that at least part of my disappointment with the color had to do with the next point:
3. Technique is everything.
There are many, many ways to balayage. (Balayage is the technique of painting hair color or bleach onto strands for a graduated, natural look.) One of my favorites is to tease each section of hair before bleaching it. Unfortunately, that won’t work on my type 4 hair. (Cut to image of me crying in the shower, hair matted into a type 4 tangle locked up by backcombed clumps, cursing YouTube for showing me that the backcombing method is a thing.)
Another of my favorite techniques is one that my stylist should have used. It involves applying the bleach to the mid-lengths, then saturating hair to the ends. Once that’s done, the stylist turns the brush 90 decrees and lightly feathers the bleach closer to the roots in selected spots. This prevents the dreaded line of demarcation that I was left with. Alternatively, you can highlight selected sections by hand, applying the bleach with either a brush or your fingertips.

One balayage technique.
After living with my newly-bleached hair for a few weeks, I decided that I would try putting in more highlights myself. After all, I can read and follow directions. Plus, I have a serious vested interest in doing a good job on my hair since I’m the one who has to live with it. Back when I used to relax my hair, I took matters into my own hands when professional stylists had burned or otherwise messed up my hair. I could do the same with bleach, right?
So, I did some research, shopped the beauty supply store and gave myself a motivational pep talk before diving into a jar of coconut oil. Why coconut oil? Because…
4. Coconut oil before bleaching will save your hair.
Protecting your hair before bleaching is a good practice. Coconut oil is particularly good for bleached hair because it has proteins that bind to hair proteins more effectively than other oils do. It seems to protect the hair from damage during the bleaching process without affecting the effectiveness of the bleach.
My old hair never liked coconut oil. Frankly, all that protein was just too much for it. Now that I bleach my hair, it’s the perfect fortifier and protectant/smoother. My hair drinks it now.
After applying the coconut oil, I did my best DIY balayage using the feathering technique with the applicator brush, then used my fingers to highlight selected strands. I applied bleach to the previously-bleached highlights last, then washed my hair and checked out my work in the mirror. I tried not to panic. The back section of my hair was hot orange. Damn. Didn’t even know that was a color.
I tried not to panic. After all, I still had to tone my hair. I applied Wella T18 toner, the classic super light ash color that banishes yellow from hair. Unfortunately, I made the mistake of putting it on my entire head of hair, which lifted the dark color near my roots to an ashy orange. I nearly fell down when I saw my hair in the mirror.
-
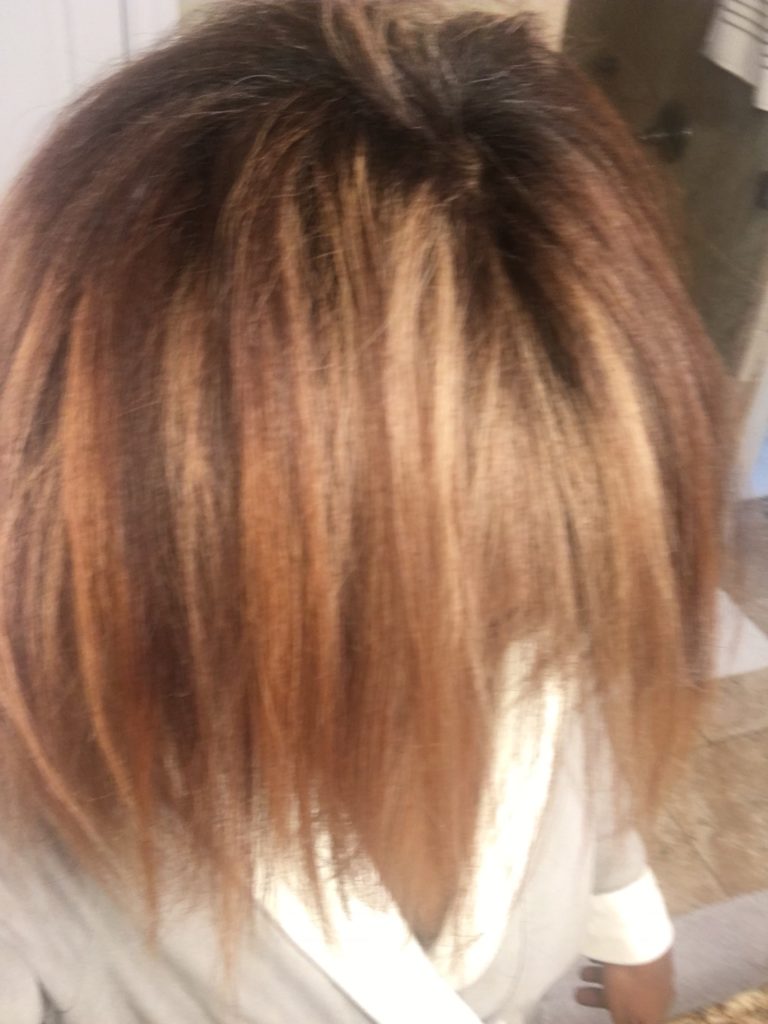
- My hair color after the toner was applied. It’s still very orange in the back.
-
- These pictures are bad, but so is the color — HA!

5. Got orange? Go blue.
Wait, toner can turn your hair orange? Why, yes! Yes, it can.
The toner is applied with a color developer, which lifts the cuticle and gently lightens hair. My brown hair was lifted when I applied the toner, and my whole head turned orange. On the bright side, my ends were no longer hot orange. They had mellowed to a medium clown-orange. But there were still tonal differences in the hair color, which told me that the situation could be salvaged.
Remember that friend who asked whether my professionally-done hair was a DIY job? Well, she also told me that she’s been using purple shampoo on her natural blonde hair since she was a teenager. The purple cancels the yellow tones and keeps her blonde hair looking fresh. I decided to look into this a bit more. Maybe I needed some purple shampoo.
As I dug around, I found out that purple shampoo is great for canceling yellow tones in the hair, but that it’s not effective on orange. Blue dyes cancel orange. That makes sense. Purple is opposite yellow on the color wheel, and blue is opposite orange. Using a blue-toned product on my hair could cancel the orange and get it back to a more natural-looking color.
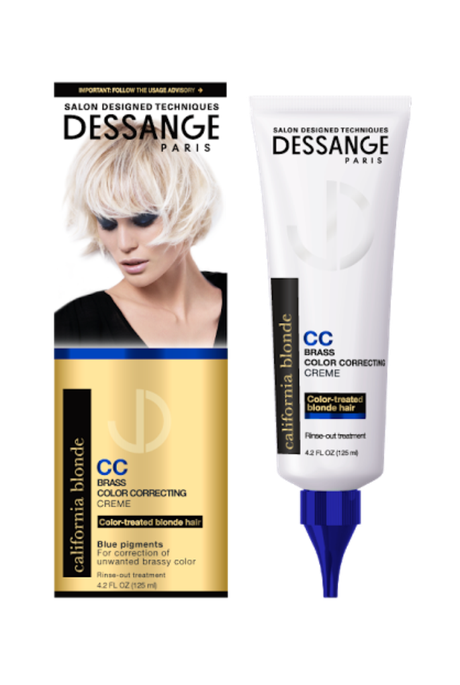
Seriously, I love this stuff.
I found Dessange California Blonde Brass Color Correcting Creme at Target and decided to give it a try. I liked the fact that it has blue direct dyes and that it’s a conditioning creme instead of a shampoo, which can be drying. I love this product. It has been amazing for my hair health and color. The instructions say to leave the product in for 5-10 minutes, but I had some serious orange that needed to be neutralized. I wrapped my head with plastic wrap and left it in for an hour.
My hair was left soft and in beautiful condition, and the orange was subdued to a coppery dark blonde, which was just fine with me. After all, my research tells me that going blonde is a process and that you shouldn’t expect to get it right the first time.
6. You’ll have to color correct a few times.
I’ve decided to keep a couple of bottles of toner on hand for the occasional tweaks I’ll have to make to my color. I’ve also heard that dyeing hair a medium ash blonde can help bring the orange tones down to a nice light brown, but I want to avoid that color if possible. Light brown will make me look washed out. I’m committed to an ash blonde with dark roots.
7. You’ll have to change your makeup when going from dark hair to blonde…
All of a sudden, my dark mascara and pale pink lip gloss just wasn’t cutting it anymore. I was washed out! I played with makeup for a couple of days before discovering that my new blonde hair demanded a bolder lip. I went with a red lip liner and filled in with the pink gloss. I also changed my eye makeup, ringing my eyes with a smoky brown and then finishing with mascara. The result was a look that brought out the cocoa brown in my eyes and made my lips a focal point for my face.
8. …But if you have to change your foundation, your hair color is wrong.
I was willing to play with lip and eye colors, but my skin tone hadn’t changed. One dead giveaway that my hair color was tonally off was how it set off my skin. The unease I felt when I left the hair salon was because my skin suddenly looked a lot more golden than it ever had. That’s why it felt like I was looking at a different person. When I used the brass color correcting creme and later re-toned my hair, I could see the difference. My skin looked like my own again.
9. Get ready for some upkeep.
I wash my hair less frequently now. I try to keep to a weekly wash schedule, and sometimes stretch to every week and a half. My hair seems to appreciate the oils that build up on my hair more than it ever did before. My hair hated coconut oil before I bleached it. Now, my hair loves it and soaks it up easily. I normally slather it on for several hours before I shampoo. Before bleaching, it would sit on my hair and create a greasy mess. Now, my hair soaks it in graciously, and it feels soft and smooth through to the ends.
After shampooing with a sulfate-free cleanser, I condition/color correct with Dessange California Blonde Brass Color Correcting Creme for the recommended 5-10 minutes, then rinse. It’s an incredible conditioner and leaves my hair feeling soft and smelling vaguely like flowers. Blonde hair picks up minerals and pollutants that turn it yellow or orange, and I have to be vigilant to keep the orange away.
After my hair has been cleaned and conditioned, I use a small amount of Shea Moisture Jamaican Black Castor Oil leave-in conditioner to my ends only. I then apply my favorite heat protectant spray and blow dry my hair in sections, focusing on the roots. I use a flat iron at 390 degrees to straighten my hair.
To recap, the four things I do differently than before are:
Shampoo less frequently (every 7-10 days)
Pre-treat with coconut oil for several hours before shampooing
Use a brass color correcting conditioning treatment with blue direct dyes
Apply a creamy leave-in conditioner to my ends before heat styling.
10. But when it’s good, it’s very, very good.
My hair feels healthy and looks exactly the way I want. I have 1.5 inches of gray growing in at the crown, and it’s barely noticeable. Plus, it’s fun to play with a new color. After all that my hair and I have been through, I’m convinced that this was a good decision.

image sources
- IMG_0010: Owned by the author
- people_russell_wilson_ciara_c0-130-1449-974_s885x516: https://twt-thumbs.washtimes.com/media/image/2016/07/06/people_russell_wilson_ciara_c0-130-1449-974_s885x516.jpeg?7c19e7961496fdad0a703737d83536f3f61ddcb6
- IMG_0005: Owned by the author
- IMG_0007: Owned by the author
- IMG_0332: Owned by the author
- bccfe526e877acaf3ee9da9684bc11a4–hair-tricks-beauty-tips: https://s-media-cache-ak0.pinimg.com/736x/bc/cf/e5/bccfe526e877acaf3ee9da9684bc11a4--hair-tricks-beauty-tips.jpg
- IMG_0001: Owned by the author
- IMG_0002: Owned by the author
- c85f2d8d6003ee92dc0bf89fad923eba.png.750x750_q85ss0_progressive: https://d1sca6vi4fbl8x.cloudfront.net/media/product/image/c85f2d8d6003ee92dc0bf89fad923eba.png.750x750_q85ss0_progressive.png
- TH Cover Images (75): https://youtu.be/87kMMoRRObM
- Title Page: https://scontent-ort2-1.cdninstagram.com/t51.2885-15/e15/10593393_698038606943136_932927727_n.jpg
- TH Cover Images (77): Owned by the author