Silk Press On Natural Hair: DIY Without Damaging Your Natural Curls
I’ve been wearing my hair curly natural for a while, but the truth is, after wearing it that way for a a couple of weeks, I just get…bored. I’m a 3C/4A natural, and I’ll admit that while I like my natural hair, I get tired of looking at the same style in the mirror. Plus, I actually like wearing my hair straight. So, a few weeks ago, I decided to learn how to do a really good silk press on natural hair.
When my stylist does my hair, it seems simple. She doesn’t use a ton of product and my hair is touchable and gorgeous. Besides not being able to swivel the top part of my body completely around, I can’t think of a reason why I can’t make my hair lay straight and stay that way, without killing my curl potential (challenge!)
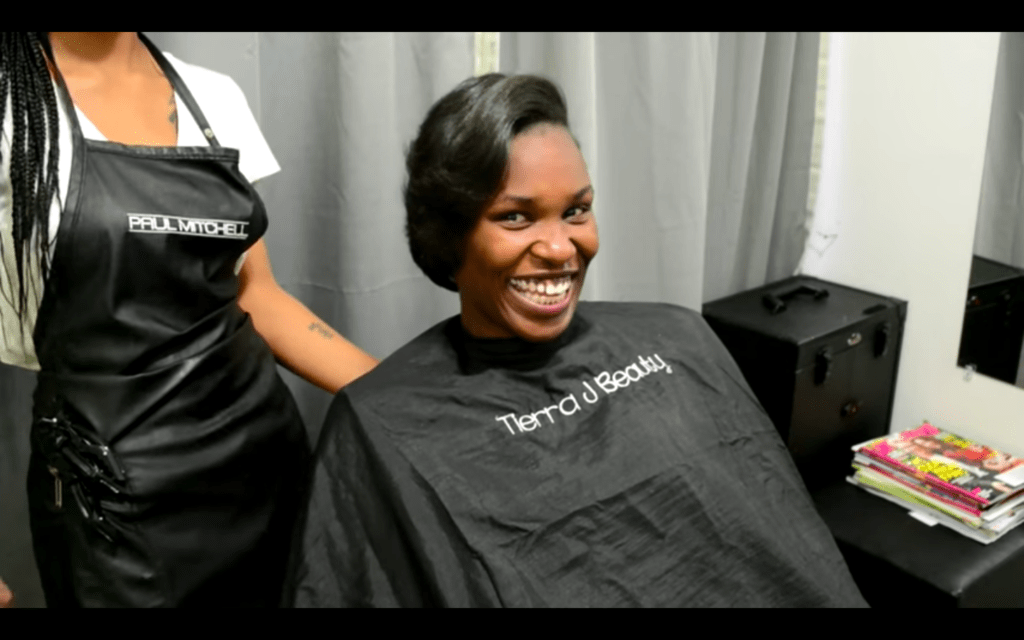
This tutorial will take you step-by-step through how to do a long-lasting silk press on your hair, courtesy of one of our favorite vloggers, Tierra J. Her pictures and video show her doing the blowout and silk press on one of her clients, but don’t worry. I promise that if I can do this on my own, you can, too. I’ll walk you through a few of my additional tips, and share some of my favorite products.
Here’s how to do a professional-quality silk press on natural hair without damaging your natural curls:
Step 1: Clarify your hair with your favorite shampoo
This is not a time to co-wash! The purpose of this step is to remove all product and excess oils from your hair. If you don’t remove all previous product, you run the risk of damaging your cuticle by cooking any residual product onto your hair. Rinse and repeat if you need to!
Step 2: Give your hair a good deep conditioning treatment using a silicone-based conditioner
Deep conditioning will help restore moisture to your strands. Rather than simply deposit a thin emollient layer on the hair, a deep conditioner will actually penetrate the hair strands. I also prefer to mix in a condition that contains amodimethicone. Unlike other “-cones”, amodimethicone won’t build up on the hair. It provides heat protection by creating a protective film on the hair that helps prevent water loss and slows down damaging heat transfer to the inner hair structure.
Pro Tip: Unlike other “-cones”, amodimethicone won’t build up on the hair.
Cover your hair with a shower cap and cover with a warm towel. If you have a steamer, this is a great time to use it. The moist heat from the shower cap or steamer will give your deep conditioner a boost. Be sure not to overdo it; most deep conditioners give you optimal benefit if left on between 15 and 30 minutes. Rinse briefly with warm water, then with cold water to close your cuticle.
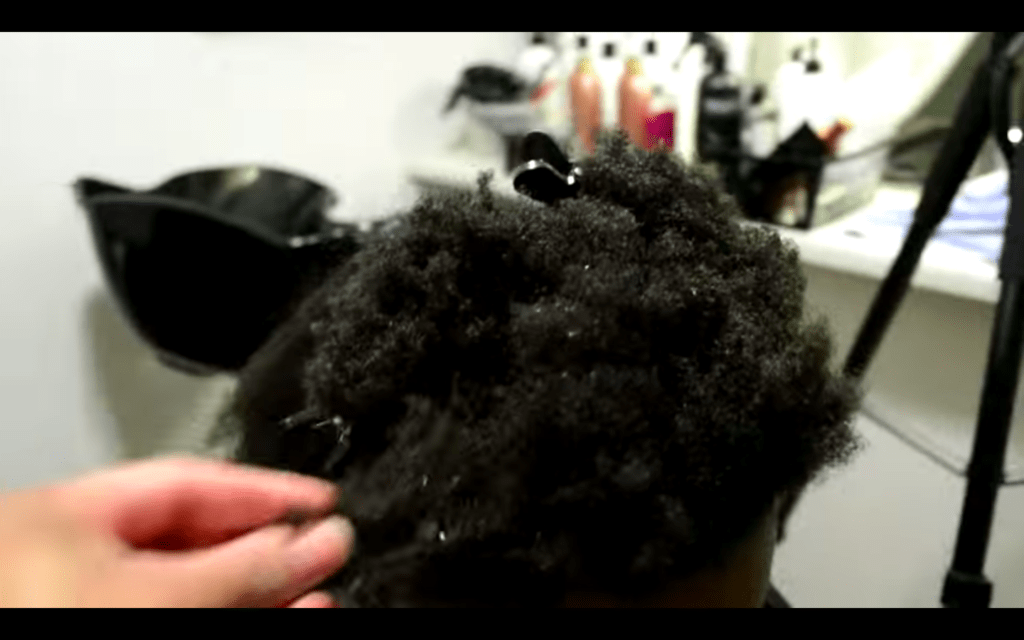
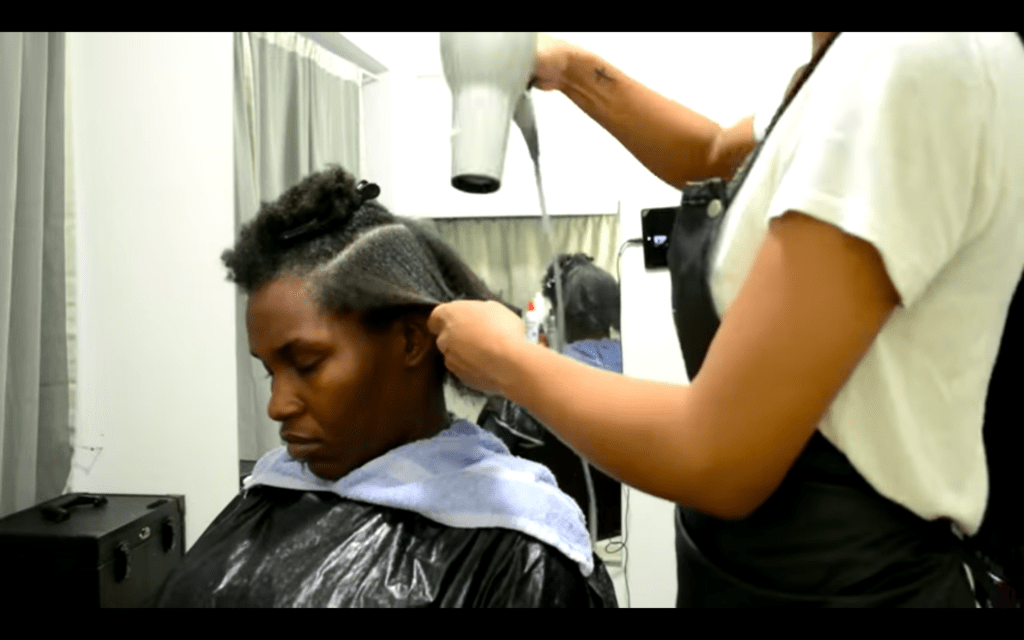
Step 3: Separate in large sections and apply a heat protectant spray
To do a good silk press on natural hair, start with a good blow dry. The goal isn’t to get your hair bone straight at this point. Use medium heat and work in small sections to dry the hair thoroughly, lifting the hair from the root with a paddle brush or vented brush. This will make sure that your roots are dry. Be sure to point the nozzle of the dryer toward the ends of your hair. Doing this will encourage the cuticle to lay flat as the hair dries, giving it a smoother finish. Go easy on your ends here; they will dry more quickly than your roots and don’t need the added stress of going over them multiple times.
Pro Tip: Your blow drying temperature should be tolerable to your skin. If it’s too hot for your skin, it’s too hot for your hair.
In case you’re wondering, my favorite heat protectant for blow drying is TreSemme Thermal Creations Heat Tamer Spray.
Step 4: Dry hair in small sections, pointing warm air down the length of the hair
As it turns out, this is is the step where I had been making the biggest mistake. It took me a loooong time to get comfortable with holding a nozzle dryer in one hand and a brush in the other. For years, I used a hand-held dryer with a comb attachment. I love the idea of those dryers, but they really don’t let you grip the hair so that you can use tension while you dry. It also directs hot air directly onto the strands rather than down the length. Without realizing it, I was leaving my cuticle rough. That meant I had to use a lot more heat to straighten my hair *shudder*.
On top of that, I was blow drying huge sections of my hair at one time. I used to divide my hair into four sections and dry each giant section with the hand-held comb-attachment dryer. Now, I divide each of those four sections into four smaller sections to dry them. It’s not nearly as tedious as it sounds — I whip through blow drying my hair in about the same amount of time as it took before. Turns out that the smaller sections dry faster!
Pro Tip: Do not apply any natural oils to your hair
Natural hair loves natural oils for sealing in moisture. But natural oils + a flat iron = a cooking show. Don’t cook your hair. Please. Thank you.
Pro Tip: Natural oils + a flat iron = a cooking show. Don’t cook your hair. Please.
You can use an additional heat protectant before flat ironing your hair. I prefer to use TresSemme Thermal Creations Volumizing Mousse for body and light hold, as well as heat protection. Again, this product contains dimethicone. I brush it through each section to distribute and let the product dry a bit before straightening.
Step 5: Moving in small sections, flat iron hair using a comb to separate the hairs
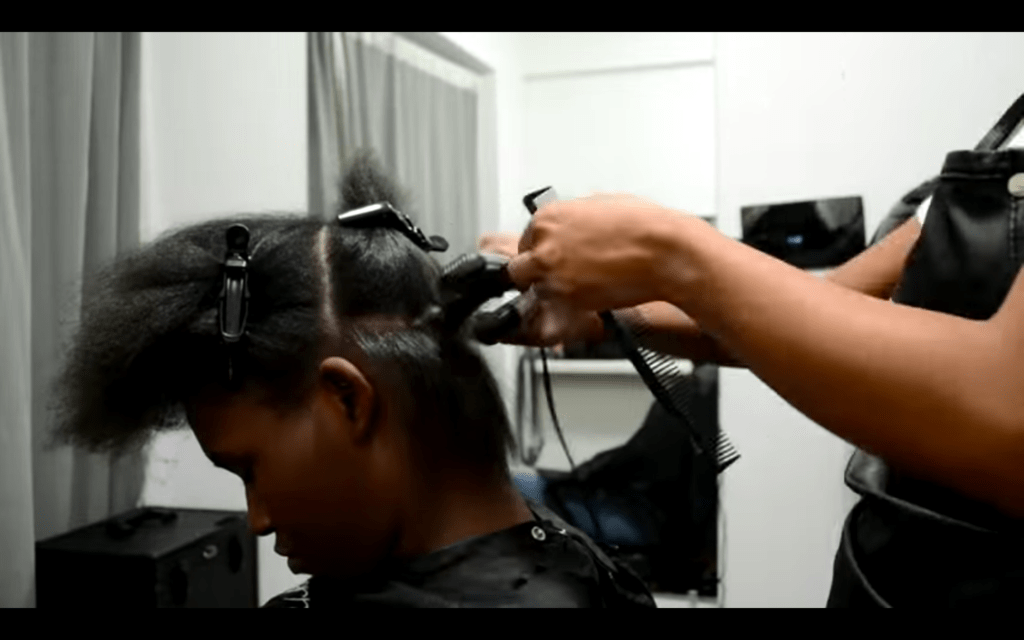
Using a comb, or the comb chase method, flat iron your hair in small sections. I actually like to use a boar-bristle brush for this part. It separates the hairs, ensuring that each one gets evenly straightened. Concentrate a 2 short passes near your roots, then one smooth pass down the length of each section.
If you prefer to wear your hair curled, go back through and use a curling iron or flat iron to curl larger sections of hair. Your hair should only need a single quick pass with your heat tool at this point. I find that my hair stays straight and does not revert until my next shampoo. I normally shampoo twice per week, but I am sure that this could last much longer.
As an unintended torture test, I helped my 5-year-old son take a shower three days after silk pressing my hair. At one point, I had to step into the shower fully-clothed and without a shower cap for about 3 minutes. After exposure to steam for 3 minutes, my hair got a little puffy but did not revert. It lost its curled style, but remained completely manageable and straight. For vanity’s sake, I smoothed it with a flat iron again, but I really didn’t have to. I was impressed.
Unintended torture test: After 3 minutes in the shower without a shower cap, my hair got a little puffy but did not revert.
Step 6: Maintain your silk press with minimal product use
To maintain your silk press, stay away from products that will make your hair stiff or sticky; this silk press will stay supple and shiny for days. If my edges get a bit fuzzy after a shower, I use a bit of Tigi Bed Head Hair Stick For Cool People on my edges (any natural wax-based product will do), brush them down and wrap with a wide moisture-wicking headband while I put on my makeup. I like doing this rather than using gel, which takes a long time to dry and leaves my hair stiff and a little bit yucky. Once my makeup is done, I smooth it through my hair. There are just enough natural oils in my Tigi Bed Head stick to give my hair a shine boost without making it sticky.
That’s it! Have you tried this method for a silk press on natural hair? Let us know if it works for you!
Headline photo courtesy of @eclectic_vibez. Content photos courtesy of Tierra J Beauty